One of the biggest questions I get from people wanting to start a podcast is what equipment do I need to buy and how much is it going to cost?
Ok, that’s two questions, but the more you research equipment for podcasting, the more questions you may have. There are so many products out there that are advertised specifically to podcasters, that it can be overwhelming about what to buy and what actually works well for recording a podcast. While I haven’t used every single piece of gear on the planet, I have used and tested a lot of equipment over the years (some good…some bad…and some downright ugly!) I’ll help guide you through the decision making process about what you will need to buy in order to record and produce a quality podcast.
First, let’s start off by asking some general questions you need to think about before purchasing any podcast equipment:
Questions to Ask Before Purchasing Equipment
What is my budget?
Am I on a shoestring budget or is money not much of an issue? I’m here to help you get the best mileage out of your money without compromising too much on audio quality.
Am I a tech-savvy person?
- If you have trouble with changing the HDMI input on your TV, then you probably should just stick with our entry-level options. You definitely will want an easier setup that doesn’t require as much skill or training to master.
- If multiple cables, connectors, and a myriad of buttons don’t phase you, then you should be fine with learning how to use some of the more advanced equipment.
How many people am I recording?
- Solo podcaster with 1 voice?
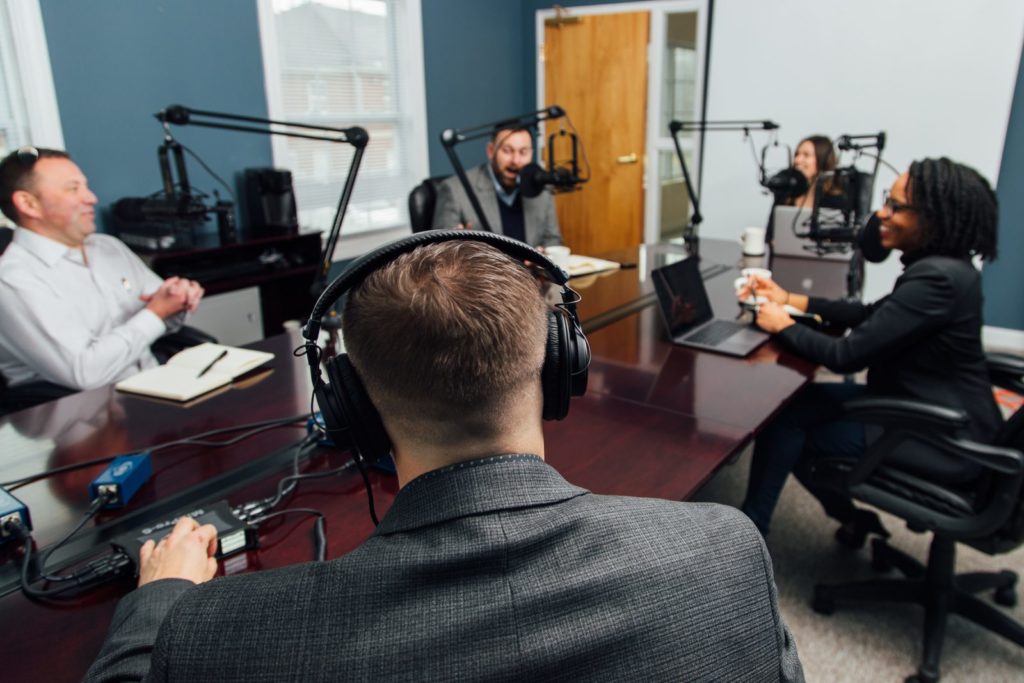
- Multiple hosts/guests in the same location?
- Multiple hosts/guests in different locations (remote recording)?
Where am I going to be recording?
Am I going to be in one location or do I need to be mobile? Will I be recording in different locations/on-the-go recording (outside, in public places, noisy environments, etc)?
Am I going to be recording in a space that is acoustically treated in any way or am I recording in a room with a bunch of reflective surfaces such as bare walls and hardwood floors?
Will I be recording video in addition to my podcast?
Do I want my setup to look good in addition to sounding good? If you are doing a video podcast, make sure to read our recommended video equipment for podcasting.
How invested am I in producing consistent content in the future?
- Am I just looking to dip my toes into the water to test this podcasting thing out?
- Do I need a pro-level setup in order to produce a high-quality show that competes with other quality-sounding podcasts?
Essential Podcasting Equipment
Here is a quick glance at what you will need to record your podcast.
Computer or smartphone
It’s 2022, so I probably don’t need to say this, but just in case…make sure you have a computer or smartphone that actually works.
After all, podcasts are streamed online, so you’ll at least need a computer with an Internet connection to post your episodes.
We are not going to get into all of the different types of computers you can buy because that’s a very personalized decision, but we recommend getting a computer that has a good amount of free hard drive space so that you have enough disk space dedicated to record if you plan on recording directly to your computer.
Microphone
Besides having a working computer, the microphone is the single most important piece of equipment you’ll need to buy.
Mic Cable/USB cable
Depending on whether you get a USB mic or a mic with an XLR connection (more on this later), you’ll need a cable to send the signal to your computer or recorder.
Always have a backup cable in case one stops working in the middle of recording. We recommend owning twice as many cables as you need to record with in order to be on the safe side.
Audio recorder
If you are planning on recording with a USB mic plugged into your computer, then you won’t need any kind of digital audio recorder.
However, if you plan on purchasing a mic with an XLR connection, then you’ll need an audio recorder with XLR inputs and a dedicated preamp/converter.
Recording Software
You will need some type of recording software installed on your computer, especially if you are using a USB microphone or if you plan on doing your own editing.
There are some free options out there including Audacity (Mac/PC) and Garageband (Mac only)
We at Resonate Recordings use Pro Tools, which costs some money, but it is our favorite software for recording, editing, and mixing.
Headphones
You’ll need decent closed-back headphones to monitor what you are recording, so you can hear if you even have the mic pointed in the right direction. (trust me…this happens more often than you would think)
You want your headphones to fit over your ears with solid isolation, so your mic won’t pick up any bleed coming out of the headphones.
You’ll be wearing these a lot, so comfort is very important.
Recommended reading: Best studio headphones: The ultimate podcasters guide
Mic stand/boom stand
Helps to minimize any vibrations that are sent to your microphone and keeps your hands free from having to hold onto the mic.
You’ll want a floor stand or an isolated boom arm that clamps to a table for the best results.
Pop screen filter
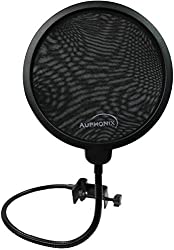
Helps minimize air that is sent to the diaphragm of the microphone so that you don’t have a bunch of low and boomy p-popping sounds.
Decent recording location (this isn’t a piece of gear, but…)
You need a quiet location free from a lot of exterior noise such as busy roads, people talking in the next room, loud HVAC system, loud computer fan, etc
- Minimal reflective surfaces
- No bare walls
- No hardwood floors
You can spend thousands of dollars on professional equipment and still have a terrible sounding recording just because you don’t record in a decent sounding location.
Non-Essential Equipment
Headphone amplifier/headphone splitter
Ideal for more monitoring gain or if you want multiple people to wear headphones (i.e. your guest)
Gain Lifting Device
This is for low output dynamic mics such as the Shure SM7b or Electrovoice RE20.
Gain lifting devices give you more mic gain for an overall cleaner signal. This really brings out the best from any dynamic microphone.
Headphone amplifier/headphone splitter
Helps to minimize any vibrations that are sent to your microphone and keeps your hands free from having to hold onto the mic.
You’ll want a floor stand or an isolated boom arm that clamps to a table for the best results.
A dedicated external hard drive for your podcast
Files on your computer can become like a bowl of tangled angel hair pasta, so it’s good to have an external hard drive that is solely dedicated to your podcast.
We really like using Glyph Atom Solid State Drives because they are small, reliable, fast, and quiet. Just make sure you have the right data cables to connect to your computer
Another backup external hard drive/extra cloud storage
The last thing you want is to lose all of your data, so having a back up is really important. I had a professor in college who took all of the CDs of our recording projects that we worked on during the entire month and put them in the microwave right after we turned in the assignment. It looked awesome, but there were some panicked students (thankfully, I had my project backed up). He then gave us 24-hours to turn in our projects again, so for the students who didn’t back up their work…well…you get the point. Lesson learned. Always have a backup.
These days, cloud storage is cheap and you can never have enough of it, so buy extra just in case.
Also, if you plan on using a handheld recorder that records to an SD card it’s a good idea to get multiple SD cards just in case one gets lost, breaks, or you run out of space.
Acoustic treatment
You can buy acoustic panels or an acoustic blanket for bare walls to help minimize any reflections you may have in your room.
Keep in mind, if your room is noisy (exterior noise or loud ventilation system), then acoustic panels won’t fix that. It will just help dampen or diffuse some of the reflective sound in your room.
If you want your space to feel more inviting for your guest, then you can always use things like rugs, plants, couches, and bookcases filled with books to help the sound of your room. This requires a lot of experimentation and moving things around in your room, so be patient.
Now that the basics are out of the way, let’s dive a little deeper…
Microphones
As I previously mentioned, your microphone is probably the most important piece of gear you will buy. There are so many different microphones to choose from, but I’ll narrow down that list to a few options that I think are worth using for recording a podcast.
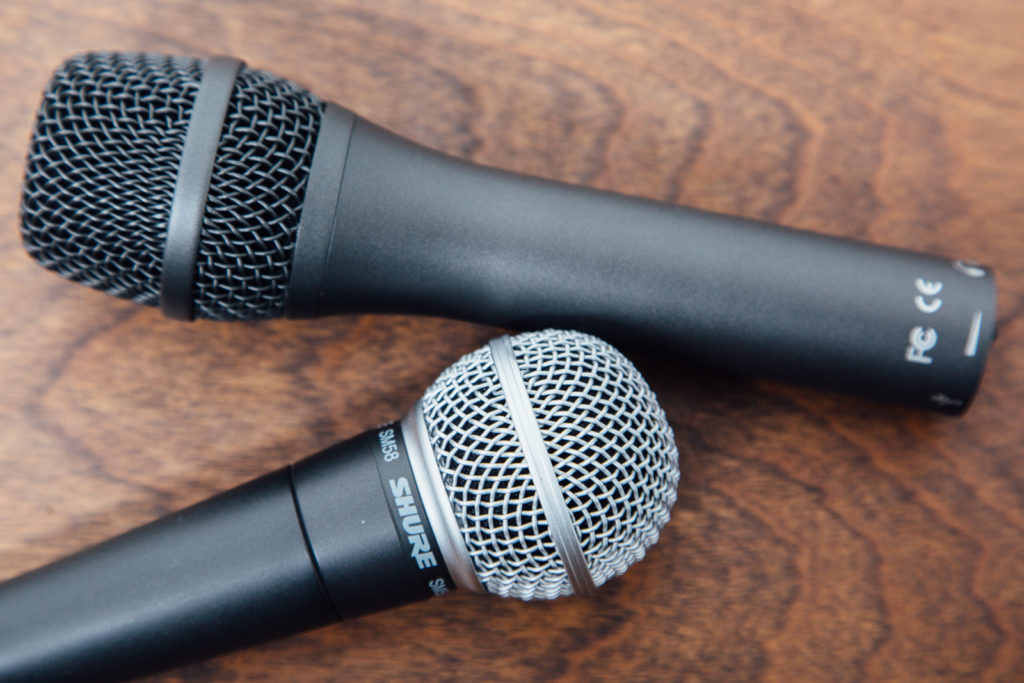
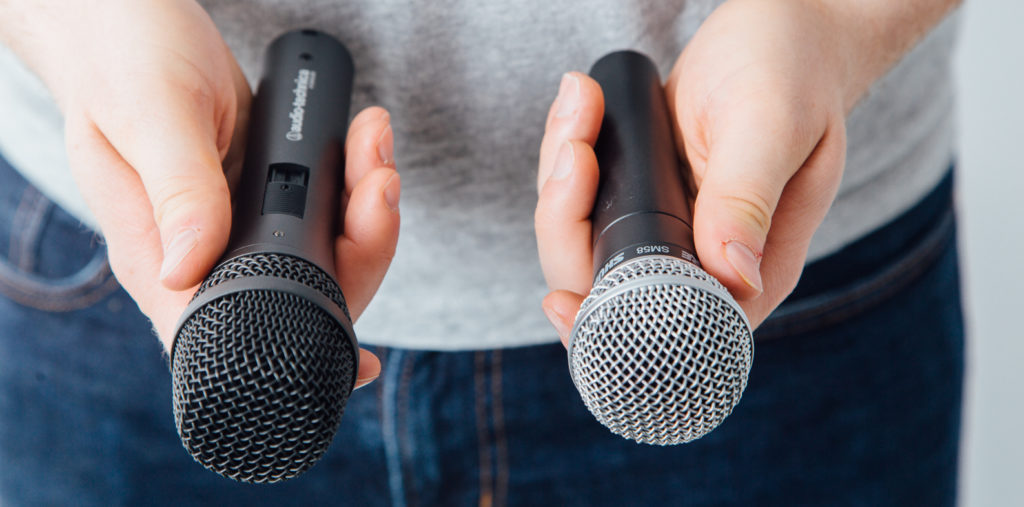
First, you’ll need to consider the microphone type and polar pattern you’ll need. For the majority of the podcasts we produce, we recommend getting a dynamic cardioid microphone.
This is a directional microphone that picks up sound from the front of the mic, with almost no sound being picked up from the back of the mic, and minimal sound being picked up from the sides. This is ideal for recording in noisy environments, in acoustically untreated rooms, and for an interview style podcast with multiple people talking in the same room.
There are a lot of condenser microphone options on the market that sound great because they pick up more detail in the voice and they don’t require as much gain as dynamic mics. However, since they are more sensitive, they will also pick up more ambient noise in your room compared to a dynamic microphone. I would only consider a condenser mic if I were a solo podcaster and I was recording in a very quiet and acoustically treated space.
With all of that said, almost every microphone we recommend will be a dynamic cardioid microphone. Also, keep in mind you’ll need an interface/recorder that has 48 volt phantom power if you decide to get a condenser microphone.
Next, you’ll need to decide if you need to get a USB or XLR microphone.
USB Mics
USB microphones are great because they are easy to use, easy to set up, and you can record by simply connecting them directly to your computer.
This is a great mic for a beginner because it involves the least amount of equipment, it is cheap, and easy to set up. However, the recording quality of a USB mic is typically lacking when you compare it with an XLR style microphone.
This is mainly because USB mics have to cram a cheap ADC (Analog-Digital Converter) into the microphone, which yields less fidelity than an XLR microphone that is hooked up to a dedicated preamp/converter. As technology advances, the converters in USB mics will get better, so it will be interesting to see how this changes in the future. One of the biggest downsides of using a USB mic is that you can only record using one microphone, so that limits you to recording just one person.
Technically, you can record with two different USB mics into the same computer, but it’s rather complicated and very unreliable. I don’t recommend plugging more than one USB mic into your computer to record with, so if you need to record an interview, then you’re better off getting a couple of microphones with XLR outputs.
If podcasting is more of a hobby, you are a solo podcaster, and you want an inexpensive/easy setup, then get a USB mic.
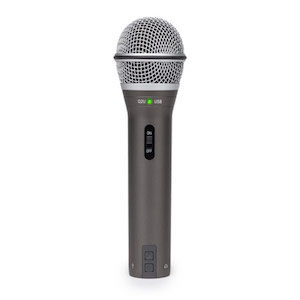
Samson Q2U
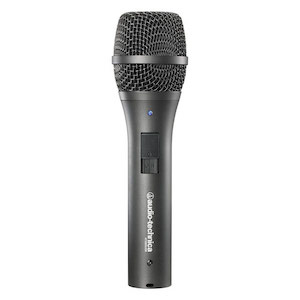
Audio Technica AT2005
XLR Mics
On the other hand, XLR microphones are more commonly used in the professional audio industry. They need to be plugged into an audio interface or digital audio recorder that has a preamp and converter. This makes the XLR mic a more expensive option because you have to buy additional gear, but it gives you a better quality recording and more flexibility to control the different components in your signal chain. If you plan on recording multiple people, want a better quality recording, and have a bigger budget, then get a microphone with an XLR output.
*Keep in mind, there are some mics that have both USB and XLR outputs, so if you are wanting a USB mic or would like more versatility with your recording setup, then I would strongly encourage you to get a microphone that also has both types of output (Audio Technica AT2005).
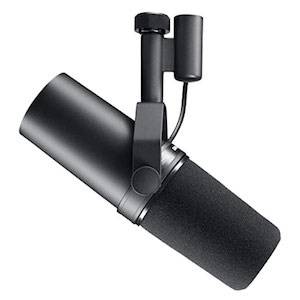
Shure SM7b
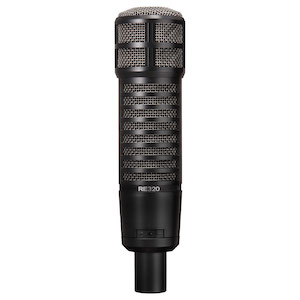
Electrovoice RE320
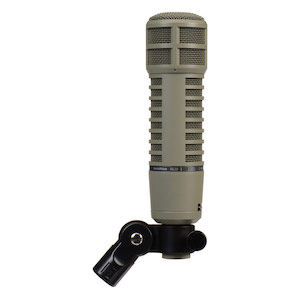
Electrovoice RE20
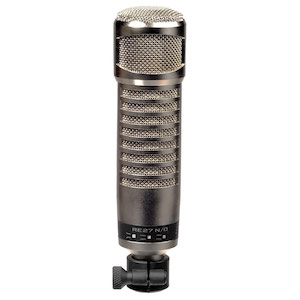
Electrovoice RE27N/D
Recording Devices
If you decide to get a USB mic and plan on recording directly into your computer, then you can just skip this section. However, we strongly recommend you look into a dedicated handheld recorder as it provides a higher quality recording and gives you more flexibility while recording. There are two common types of recording devices: the audio interface and the handheld recorder.
Audio Interface
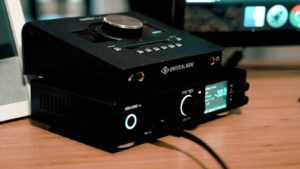
The audio interface acts as a bridge between your microphone and your computer. You plug your mic into your interface and your interface plugs directly into the computer via a USB or thunderbolt cable. You can adjust the input gain of the microphone as well as monitor what you are recording with headphones plugged in all on the interface.
All of the audio that you record is sent to the computer where it is recorded onto your hard drive using recording software. We don’t really recommend many audio interfaces to podcasters who are starting out, mainly because they can be complicated to use. Not only do you have to learn how to use the interface, but you also have to learn how to use the software and make sure the drivers are constantly updated so they are compatible with your computer.
Also, a lot of cheaper audio interfaces are bus powered, meaning they don’t require any kind of external power supply. This sounds convenient, but can cause electrical interference, which adds unwanted noise into your recording.
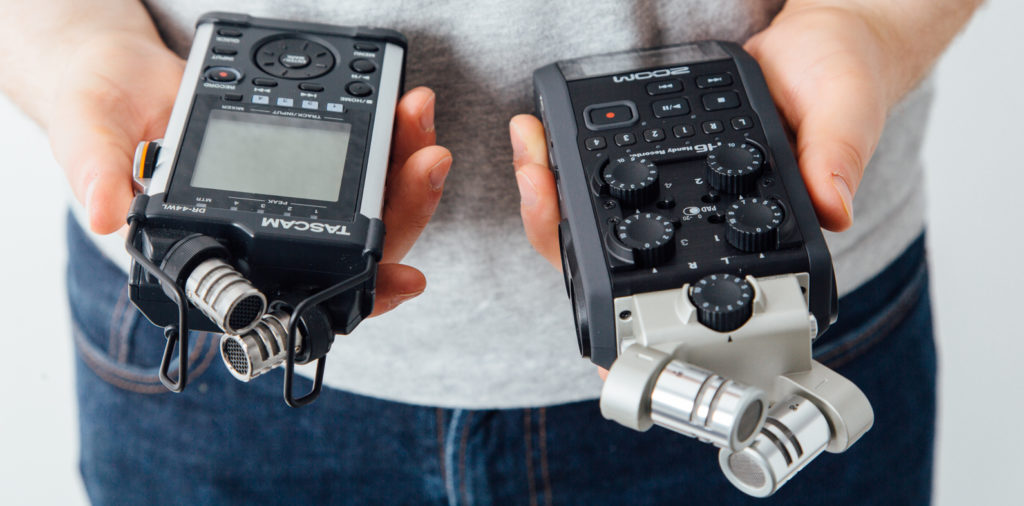
Handheld Audio Recorder
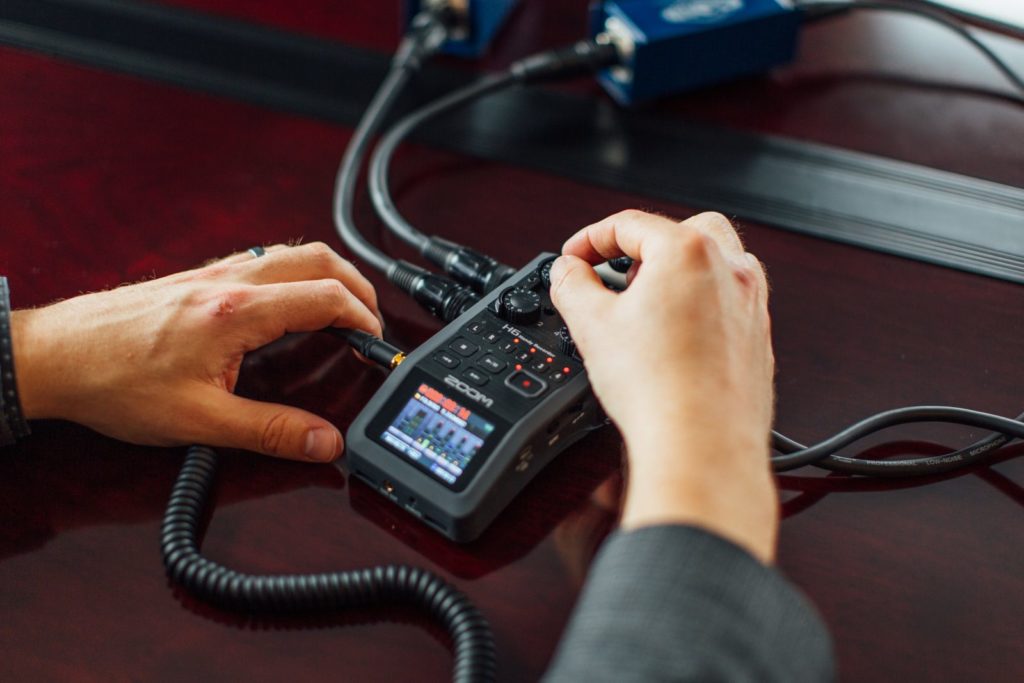
A handheld recorder is a great option for many podcasters because it takes your computer out of the equation. This frees up your computer so you can use it for notes, a script, or you can simply turn it off and only focus on your interview content.
Also, some computer fans (I’m talking about the physical fan inside of your computer) can be quite noisy, so using a handheld recorder instead of an interface plugged into a computer can be a much quieter option. Handheld recorders are also great because they are mobile, so you can record anywhere.
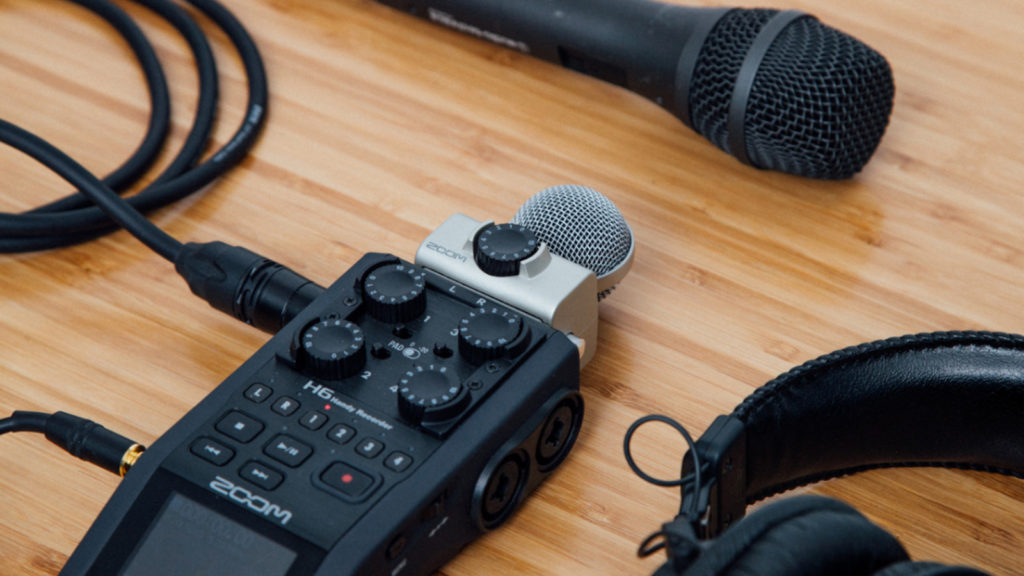
We recommend the Zoom H6 because it has 4 mic inputs (upgradable to 6) and it’s easy to set up and use. If you want a step-up from the Zoom line of recorders, then the Sound Devices Mix Pre 3 is a higher-quality option.
Field Recording
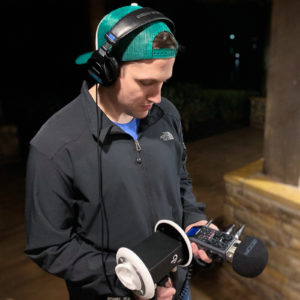
This is a small, but growing segment of the podcast industry. The popularity of the true crime genre has really inspired people to go out and record podcasts in all kinds of crazy environments. From an audio perspective, this is a sound engineer’s worst nightmare. However, there are certain tools that are designed to help record audio in less-than-ideal locations.
If you want to be hands free and are recording a long sitdown interview in a noisy location (for example, a restaurant), then you may need something that’s a little more discreet and comfortable to use for a long period of time. Lavalier mics are great for this application because they are small, easy to set up, and do a good job at reducing the amount of ambient noise picked up in the recording.
The Mikme recorder is another interesting handheld recorder to look into for recording on-the-go. It’s small, light-weight, portable, and is very easy to use. It has a large diaphragm condenser mic and an internal hard drive with the option of streaming audio to a bluetooth device such as your phone.
It’s always a good idea to use a windscreen if you are recording outside, so if you plan on doing any kind of recording with a handheld recorder like the ZoomH6, then buy a dedicated windscreen for your microphone.
Remote Recording
There are so many options for recording remote interviews via the Internet (Squadcast, Zencastr, Zoom, etc) or your phone. If you have multiple hosts in different locations or you are interviewing guests all over the world, then recording online is probably your best and most convenient option.
Each host or guest would just need a computer with a good Internet connection and a USB microphone. If your guest doesn’t have a USB microphone, then they can use the built-in mic on a pair of earbuds such as Apple Earpods.
Remote recording doesn’t require a ton of equipment, but you do need to read up on a lot of the software and CPU recommendations that are needed in order to optimally run whatever platform you choose to use.
Recording Packages
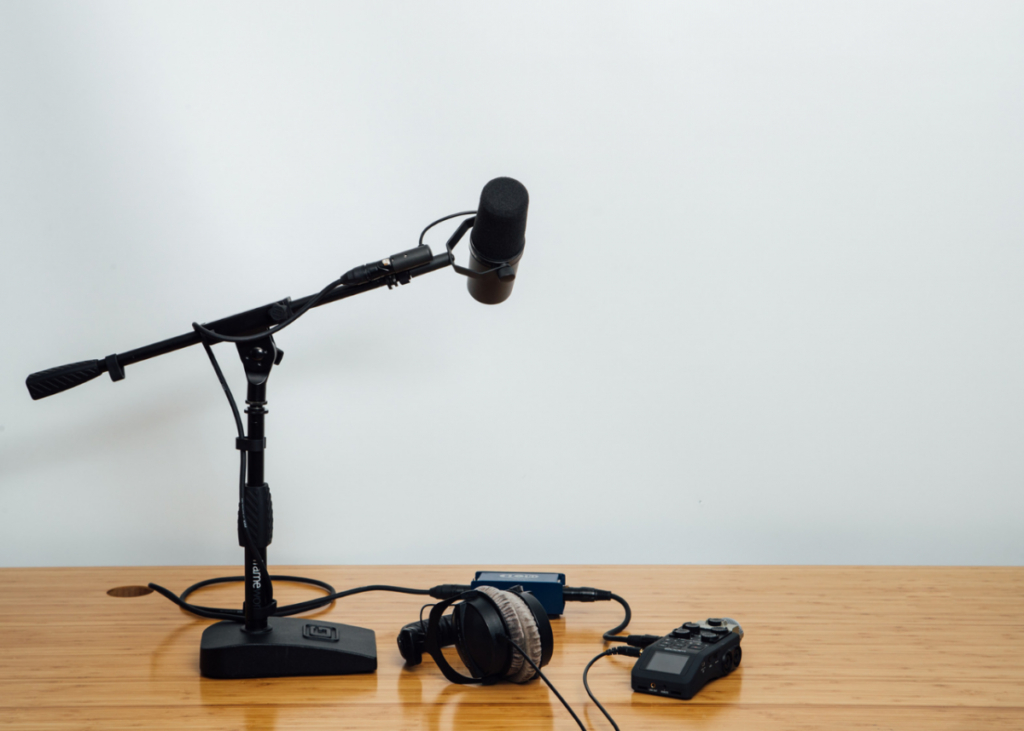
Now that we’ve helped narrow down some of the basic gear you will need, we will provide a few example equipment packages. Keep in mind, there is no one-size-fits-all solution, but this will at least give you a head start when start purchasing equipment.
Hobbyist/Simple Setup ($161-$200)
This is for the solo podcaster who is just starting out and who is looking for an easy setup. The combo USB/XLR style mic gives you the flexibility to upgrade to a better audio recorder in the future if you choose to do so:
- Microphone – Audio Technica AT2005 USB ($79)
- Cheaper alternative – Samson Q2U ($69)
- Headphones – Audio Technica ATH-M20x ($69)
- Audio Recorder – Your computer
- Software – Audacity (PC/Mac), Garageband (Mac)
- Accessories – mic stand ($13), pop screen filter ($10)
*You can get all of what you need (except for a pop screen filter) in the Audio Technica AT2005USBPK Streaming/Podcasting Pack.
The In-Person Interview ($1,759)
This is for an interview-style podcast or a show with more than one host in the same location. This package is a significant upgrade over the entry-level setup, but comes with a higher price tag. This is also a great setup if you are planning on recording video along with audio because it’s a more professional setup and it looks legit on camera.
- Microphone – Shure Sm7b ($399)
- Cheaper alternative – Electrovoice RE 320 ($299)
- Headphones – Samson SR950 Headphones ($70)
- Cheaper alternative – Audio Technica ATH-M20x Headphones ($49)
- Audio Recorder – Zoom H6 ($319)
- Cheaper alternative – Zoom H5 ($279)
- Optional upgrade – Sound Devices MixPre-3 ($680)
- Accessories – mic stands, boom arm (optional), table stand (optional), XLR cables, pop screen filters, Cloudlifter CL-1s, headphone amp ($378)
The Investigator/Reporter ($1,071)
This is a great setup for someone who may want to do a true crime series. It essentially includes two different setups: a home recording setup that can record voiceover as well as handle phone interviews and remote recordings. It also includes gear that is mobile and able to record on-the-go.
- Microphones
- Voiceover/Remote interview – Samson Q2U ($89)
- Mobile interview – MOVO LV4-O Lavalier Mic ($40)
- Headphones – Shure SRH440 ($99)
- Alternative – Sony MDR7506 Headphones ($95)
- Audio Recorders – Zoom H6 ($319), your phone
- Cheaper alternative – Tascam DR 40x ($179)
- Software – Audacity (PC/Mac), Garageband (Mac)
- Accessories – mic stand, boom arm (optional), table mic (optional) XLR cables, ⅛”-¼” TRS cable (phone recording with Zoom H6), SD card, external hard drive, Zoom Accessory pack ($184)
The Seasoned Pro ($4,497)
If you happen to have a much bigger budget or your podcast has taken off and you are looking for a higher quality setup, then check this one out. Now, don’t be turned off by the high price. Keep in mind, this is a setup that you could build and acquire over a period of time by doing multiple upgrades over your mic, headphones, interface, software, etc. This setup would be great for someone who wants to produce a high-quality interview style show with narration throughout (ex. How I Built This). You could potentially use the same microphone for your voiceover and interview, but this setup has a dedicated voiceover mic that will make the narration stand out from the interview content. This would be ideal for someone who is a full-time, seasoned, and professional podcaster.
- Microphones
- Voiceover – Neumann KMS 104 ($699)
- In-person interview – Electrovoice RE20 (2) ($898)
- USB mic for remote interview – Samson Q2U ($89)
- Headphones – Beyerdynamic DT 770 Pro (2) ($358)
- Audio Recorder/Interface – Sound Devices MixPre-3 ($649), Apollo Twin MKII ($799)
- Cheaper Alternative – Focusrite Scarlett 6i6 ($240)
- Software – Pro Tools ($599)
- Accessories – Mic stands, boom arm (optional), table mic stand (optional), XLR cables, pop screen filters, SD card, external hard drive, Cloudlifter CL-Zs, Acoustic blanket ($713)
What NOT to Buy or Use
Let’s wrap up this post by reviewing some of the items we would not recommend you buying or using to record your podcast.
Built-in mic on your computer or phone
People still use the build-in mic on their computers or phones and it severely limits the quality they can achieve. It can sound very unprofessional and may turn listeners off. Investing in a decent microphone dramatically improves the audio quality of your recordings.
Multiple people on one mic
Some mics are advertised as being able to record more than one person at a time because they have multiple polar patterns, however this usually does not produce a professional-sounding podcast.
If you plan on recording an in-person interview, then get a microphone for each host and each guest.
A mixer or an all-in-one podcast recording station
Examples: Mackie ProFX8V2, Rode Rodecaster Pro, Behringer Podcast studio.
Faders look cool and are fun to play with, but this makes the recording process too complicated for most podcasters who are starting out. More knobs and more buttons means more ways you can mess things up.
Unless you’re planning on doing a completely live show (i.e. you want to livestream to Facebook or Youtube) and you don’t want to do any kind of post-production, then don’t spend your money on a mixer or a podcast recording station.
You can easily end up overpaying for certain pieces of gear that have features you may not even need or know how to use properly.It’s really attractive to have an all-in-one solution, but these packages don’t offer you a lot of flexibility or customizability over your set-up.
Technology moves fast, so you want to have a setup that you can easily upgrade over time. We believe that it is best to pick and choose the individual elements tailored to your needs.
A portable isolation booth or gimmicky foam
Examples: sE Electronics Reflexion filter X portable vocal booth or Kaotica Eyeball)
While these acoustic treatments definitely do ‘something’ to help get a cleaner recording, they typically don’t address the bigger elephant in the room…which is your room. The Booth Junkie has a great video demonstrating how these devices work and what they do and don’t do for your room/recording.
A cheap table-top mic stand
A lot of mics come with a very cheap and small plastic table top stand/mount for the microphone. You want to record your voice and not the sound of you bumping the table or typing on your keyboard.
Buying the cheapest thing that pops up on Amazon
Don’t get me wrong, I love (and sometimes hate) the convenience of buying things on Amazon, however you need to be aware of buying the right thing. It’s very easy to click on the wrong model number and purchase something that is not compatible with your setup. So make sure to click on the links we use in this blog and confirm you are buying things with the proper model number. We use affiliate links to make a small profit if you buy the product through our link, but you don’t pay any extra cost for using these links. We are careful to only recommend equipment that we have used and researched to ensure you can trust our recommendations.
A cheap headset microphone
‘But all my friends who I play Call of Duty with say I sound dope on my $25 headset mic!’ Yeah, about headset mics…they just sound cheap. If you want a professional-sounding podcast, then don’t use a headset microphone.
A cheap USB powered audio interface
You’ve probably read a lot of posts about needing some kind of audio interface to record with. While there are certainly some great audio interfaces out there, a lot of them can present some serious problems.
Audio interfaces that are USB bus-powered (meaning they don’t require any kind of external power supply, but instead are powered from your computer’s USB bus) can have bad electrical interference that can end up in your recording.
If you decide to get an audio interface, then get one that has its own external DC power supply.
Blue Yeti mic
Ok, I’m gonna rant for a minute, so if there are any small children in the room, then simply tell them, “earmuffs!” Here it goes: The Blue Yeti is advertised as being THE go-to mic in the industry for podcasting and I just don’t get it. Our collective team of professional audio engineers don’t get it.
While you can probably get a decent recording with this mic, it’s not very user-friendly and we hear countless recordings with this microphone that don’t sound great simply because people don’t know how to use it properly.
Even if this mic is used correctly and all of the moons and stars are perfectly aligned, we still don’t like the way this mic sounds. There are other microphones out there that are at a lower price point that we think are better for podcasting.
We’ve heard the results for ourselves, so if you already own a Blue Yeti, then I would recommend looking elsewhere. We plan to do some videos in the future in more detail about the BlueYeti, but it will not be included in this post.
Conclusion
As you can see, there are many different options to choose from when deciding what equipment to buy for your podcast. We hope this helps guide you in the right direction based on your budget, the style of your show, and the audio quality you are looking for.
Keep in mind, it all depends on how you use your equipment. An expensive microphone in the hands of a novice can yield disastrous results. However, the right kind of equipment in the hands of someone who knows how to use it properly, can produce something beautiful.
If you have any other questions about what you need to produce your podcast or how to improve the quality of your podcast, then feel free to book a free discovery call with our team to learn more.
You can even schedule an equipment consultation call with us to get personalized expert advice about the best podcasting setup that is tailored to your needs.
